In SCCM 2012 we have two ways to deployments : packages and applications. If we have the original MSI file, and needs to detect if the application has been installed already, application is the best way to deploy in SCCM.
1. Open your SCCM console, go to “Software Library” on the left side, and unfold ” Application Management”, then click ” Applications”. At this time, the buttons on top should have these options, choose “Create Application”.

2. Choose ” Windows Installer (*.msi file) as your application type, and give SCCM your source file location. Please be advised that you need to use UNC path, for example \\sccmserver\source\
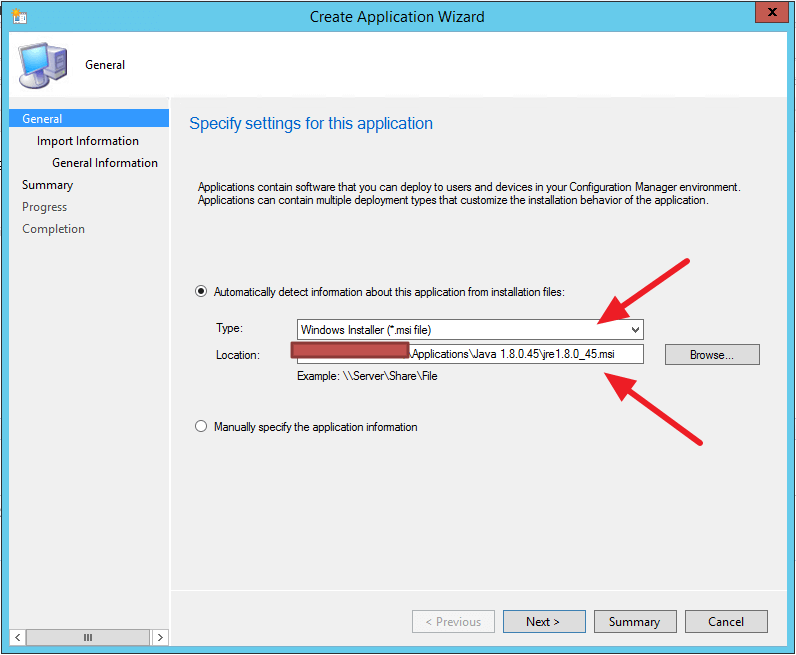
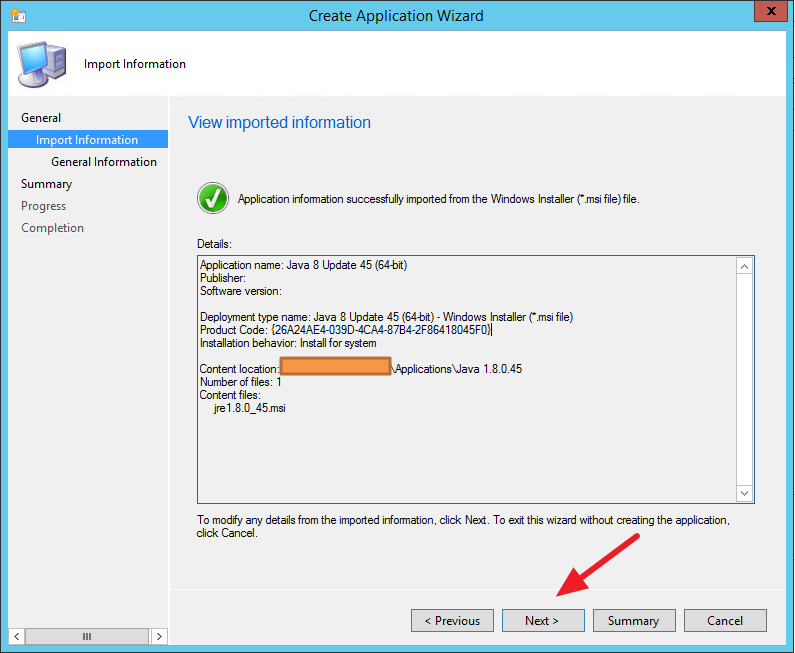
3. As you have msi file, SCCM can auto detect the general information about your application, click ” Next”
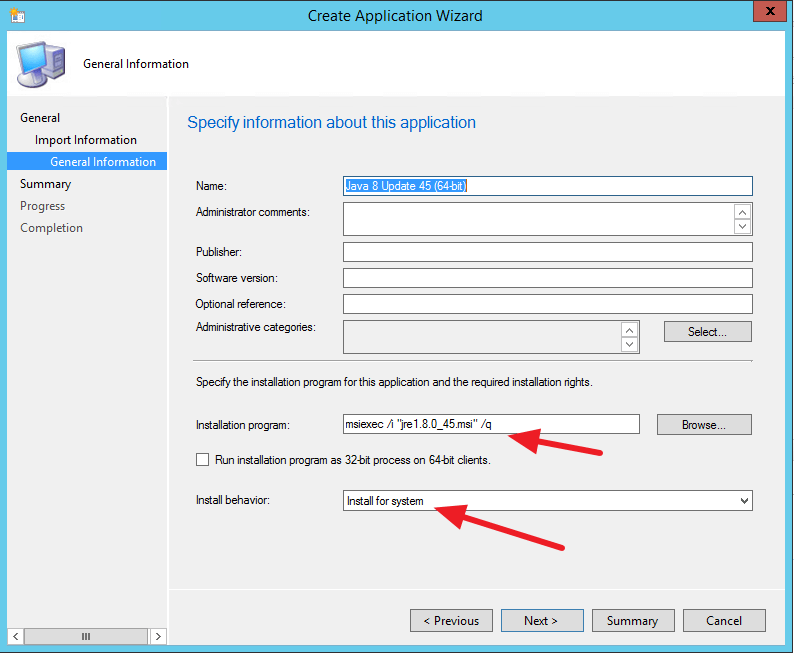
4. You can add more information if you want here. As you can see, SCCM auto fill out the installation command for you”msiexec /i “jre 1.8.0_45.msi” /q”.
As for “Install behavior”, I always choose “Install for system”, with this option, SCCM to run the installer as local “SYSTEM” account. So even the user doesn’t have local admin rights on the system, your application can still be installed correctly.
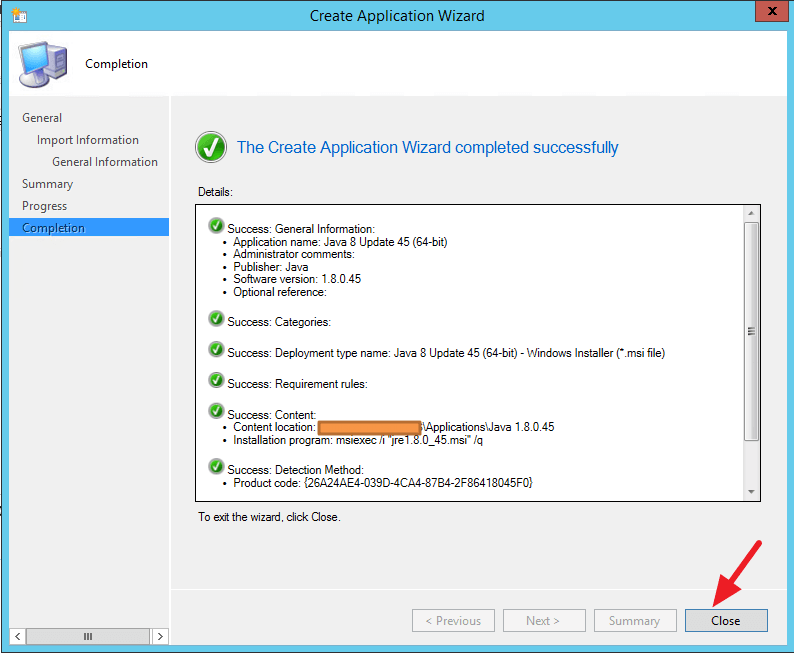
5. Now we are at the last step to confirm our new application. You can click “close” to finish. As you can see from the last two lines ” Detection method” is “Product code:{xxx}”, which means the way it detects if this application already been installed if going through MSI product code.
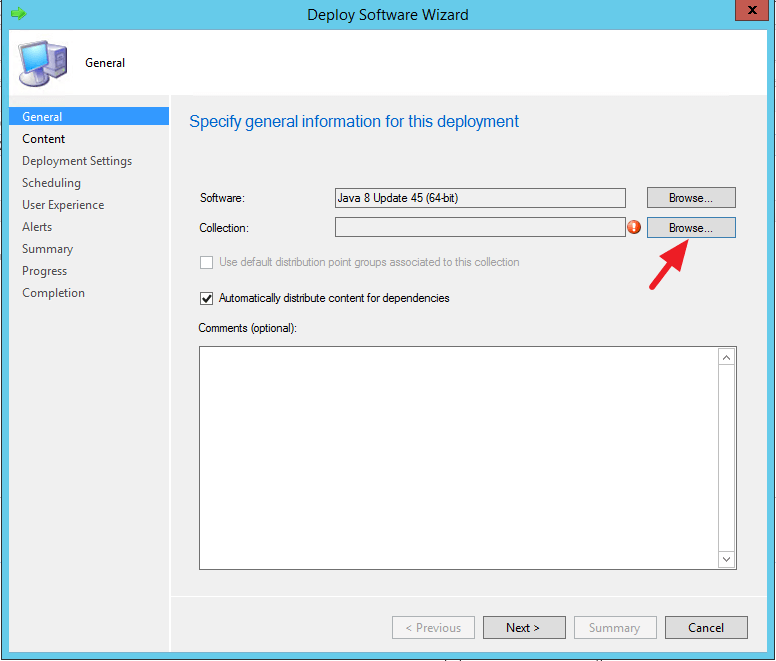
6. Now we have application created, the next step is to deploy! You can choose to deploy in a specific collection, or you can deploy to all users, so this application will show up in your application catalog. I will now show you the steps for second choice.
First click the application you want to deploy, then click the green “deploy” button on your right top:

7. Click “Browse” to pick the collection you want to deploy to:
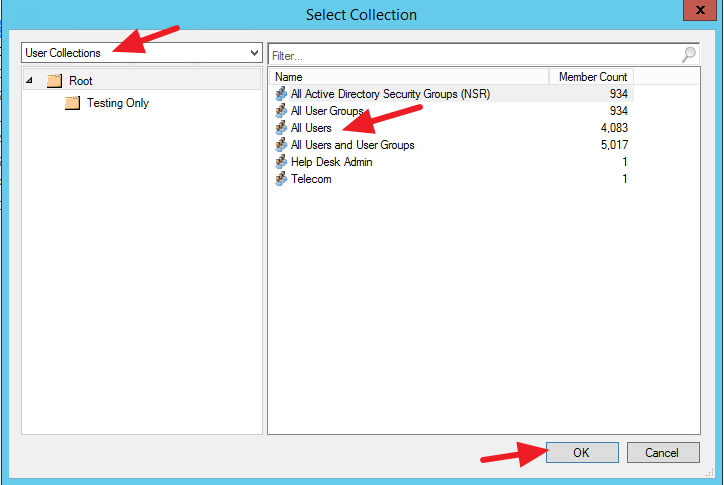
8. I want everyone can install this application under our application catalog website, so I choose ” All Users” in “User Collection”
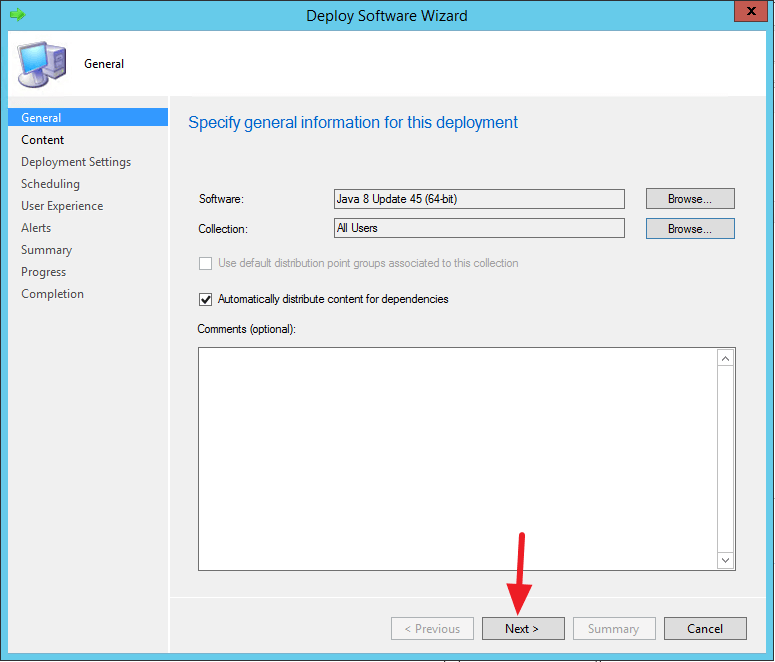
9. Click “Next”
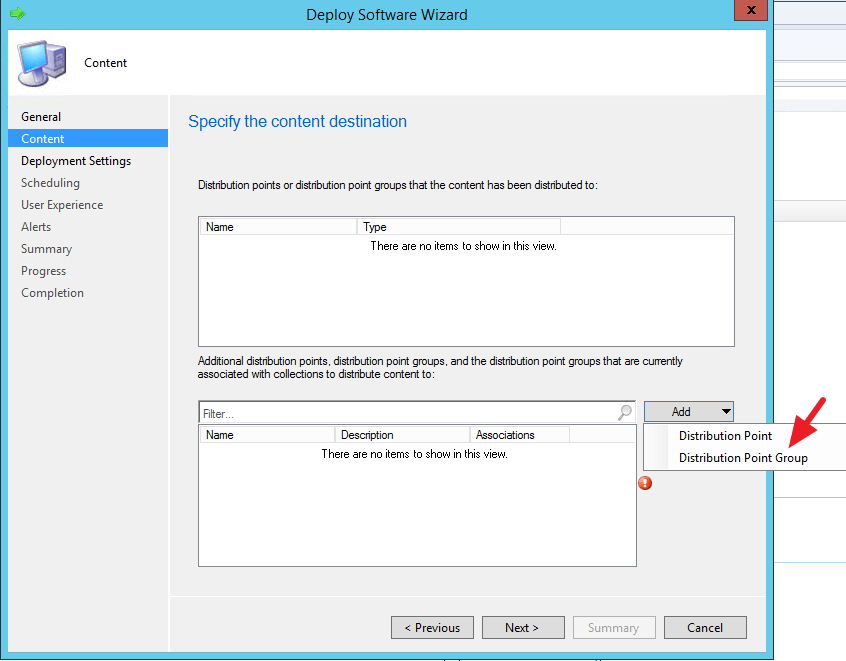
10. Now choose which Distribution Points or Distribution Point Group you want to deploy to:
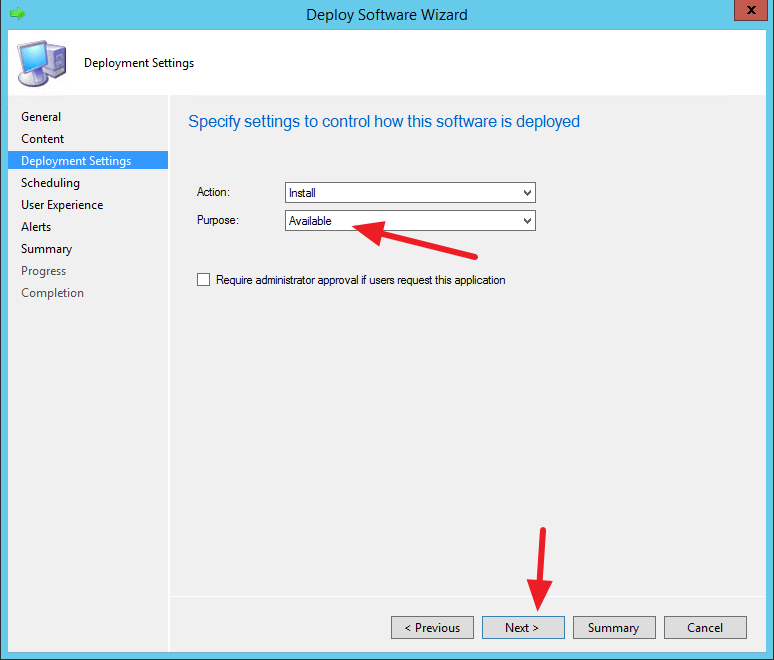
11. Under Purpose, I use ” Available ” so people can install it on demand. If you choose “required” and deploy to “All users”, that means everyone in your SCCM environment will install Java by force!
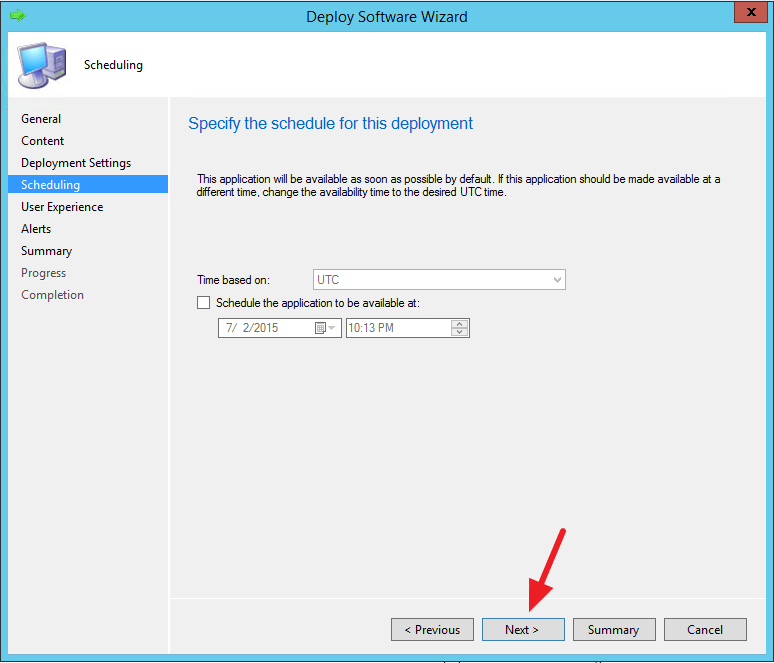
12. Choose when it will be available, usually you can just leave it alone and click “Next”
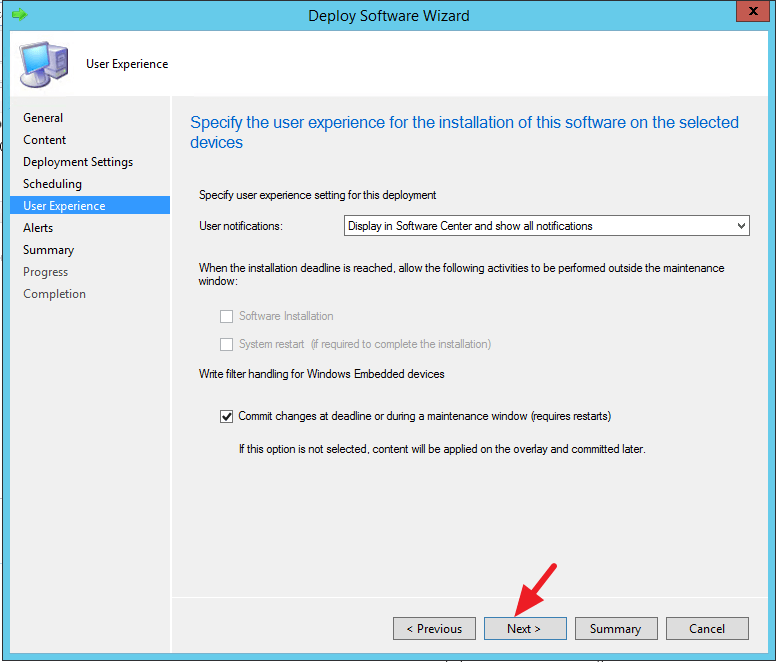
13. Here you can choose to let user know or not about this application installation
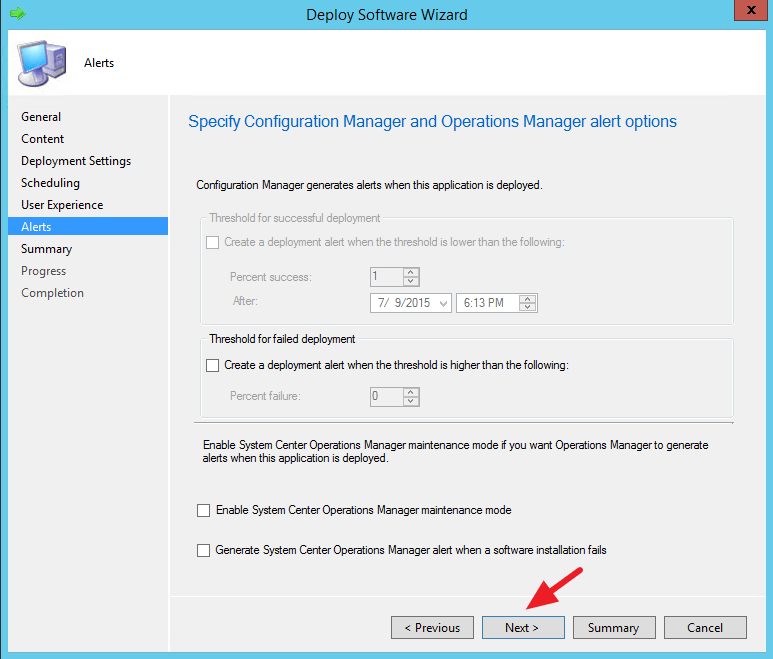
14. Do you want to set up some alert about this deployment? I usually just click “Next”
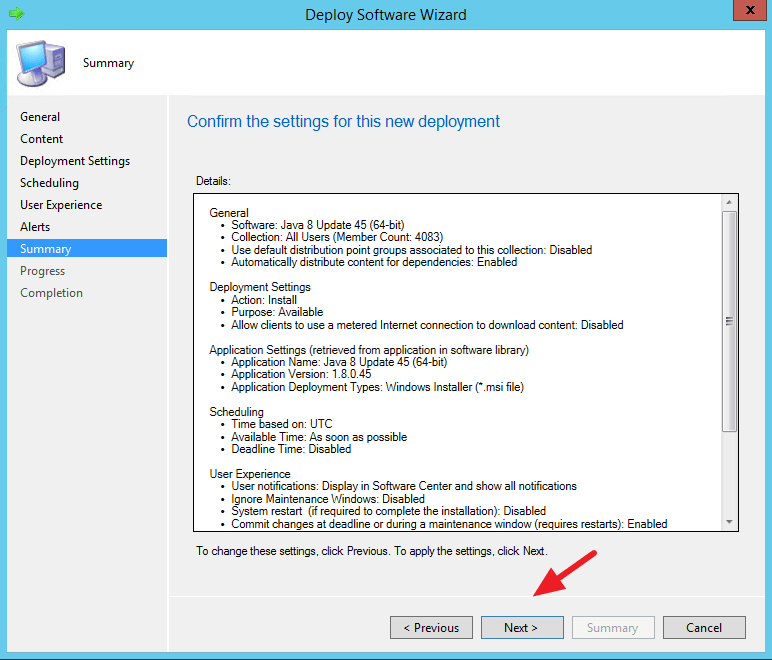
15.Here is the summary of what we have done so far:
16. Finally, we are done of this sccm application deployment!
